


Table of Contents
Replacing a fence can seem like a massive project, especially if you’ve never done it before. Yet for many homeowners, it’s an important step to take whether you’re aiming to improve curb appeal, increase privacy, or simply deal with wear and tear.
In this guide, we’ll walk you through everything you need to know about how to replace your fence, from deciding whether it’s time for a new one to the final touches on your installation.
This isn’t just about setting posts and hammering nails. It’s about making smart choices, understanding your property needs, and knowing when to call in the pros. So let’s break it down.
1. Why Do You Need to Replace Your Fence?
Over time, even the best fences can start showing signs of age. Weather, shifting soil, and general wear can all take their toll. The first step in any replacement process is identifying why it’s time to say goodbye to the old fence.
It’s More Than Just Aesthetic
You might think a faded or leaning fence is merely a cosmetic issue—but looks can be deceiving. A compromised fence can impact security, invite pests, and even affect property value. If your fence has rotted wood, loose posts, missing boards, or rusted metal panels, it’s no longer doing its job.
Safety Concerns
If you have children, pets, or live near a busy street, a sturdy fence is critical. Wobbly sections or wide gaps can be dangerous. And in some areas, failing to maintain your fence could violate local ordinances or HOA regulations.
Upgrading for Functionality
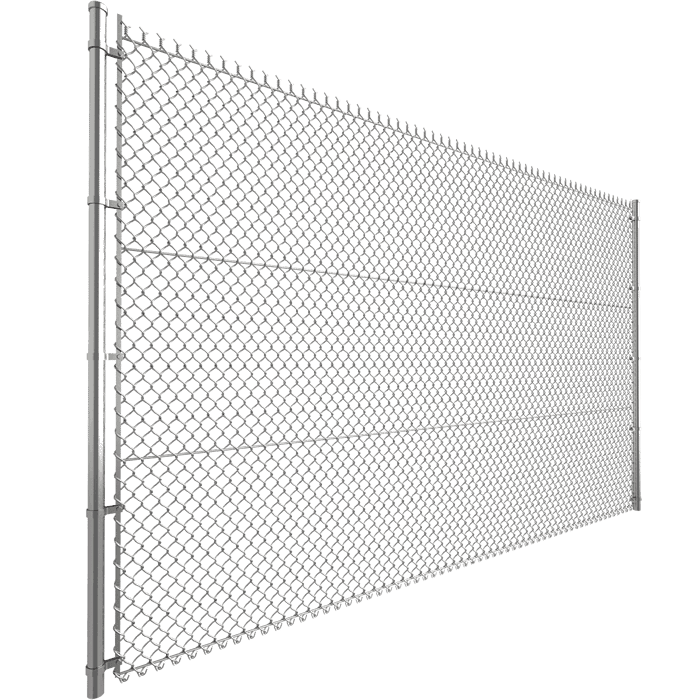
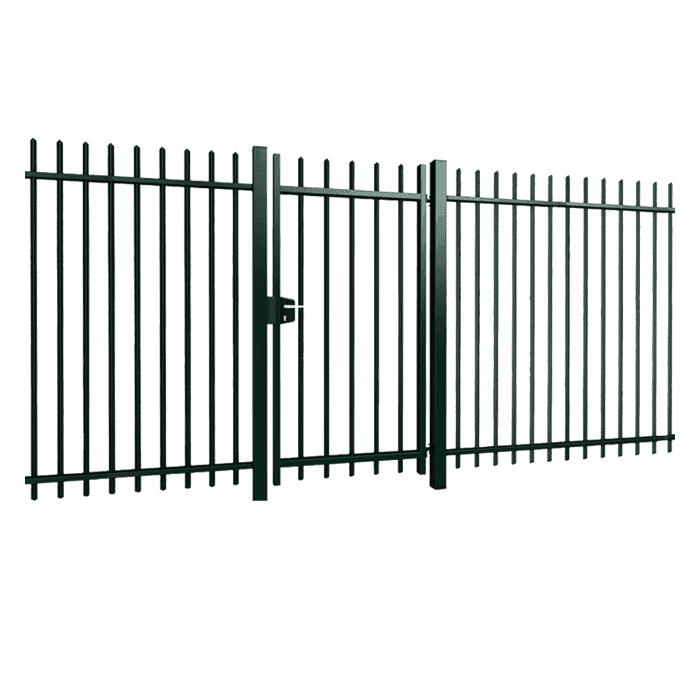
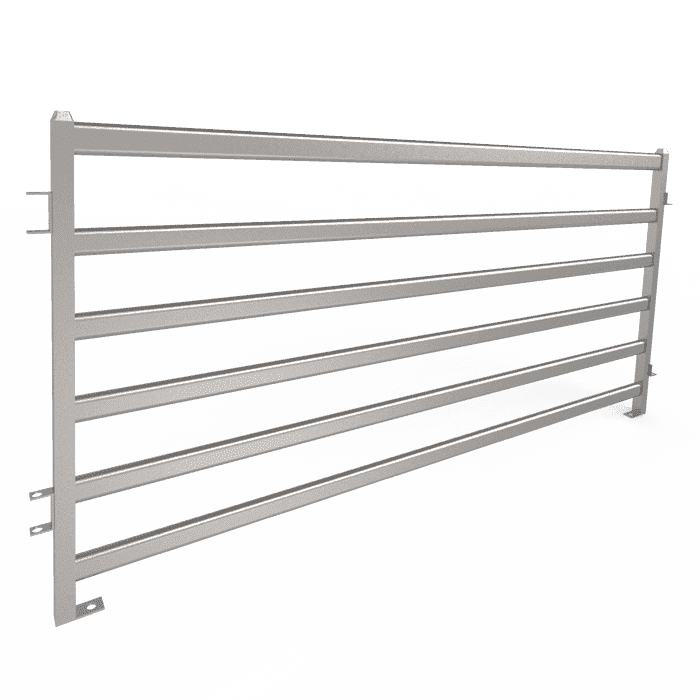
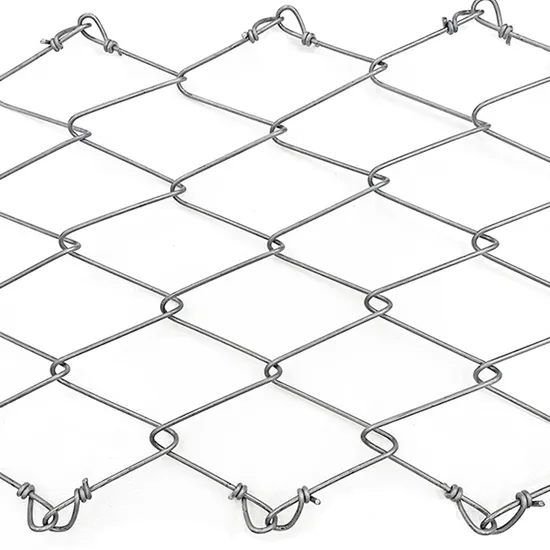
Sometimes, it’s not about damage. Maybe you want to switch from a simple chain-link to a more private wooden fence. Or perhaps you’re ready to upgrade to vinyl for easier maintenance. Replacing your fence is an opportunity to align your outdoor space with your lifestyle.
2. How to Remove Your Old Fence?
Once you’ve made the decision to replace your fence, the next step is removing the old one. While it might seem like a straightforward task, fence removal requires planning, physical effort, and the right set of tools. Ripping it out without a method can lead to unnecessary damage or injury. Done carefully, however, the process sets the stage for a smooth new installation.
Planning the Tear Down

Before picking up any tools, take a walk along your existing fence. Examine it closely. Identify which sections are damaged, which posts are still firmly in the ground, and how the panels are attached. This inspection helps you determine where to start and what challenges to expect.
Also, keep an eye out for potential hazards. If your fence runs close to trees, utility poles, or underground lines, you’ll need to be extra cautious. Always contact your local utility company before digging around fence posts.
Gather the Right Tools
Removing a fence isn’t possible without the right tools on hand. Luckily, you don’t need heavy machinery just a well-stocked toolbox. Here are the essentials you’ll likely need:
- Crowbar or pry barfor pulling boards or panels off posts
- Hammer or malletto drive nails out or loosen tight boards
- Shovelto dig around the base of posts
- Handsaw or power sawfor cutting boards or rails into manageable pieces
- Work gloves and safety gogglesfor protection
- Wheelbarrow or tarpfor carrying debris
For chain-link or metal fences, consider adding an angle grinder or bolt cutters to cut through stubborn fasteners, brackets, or rusted metal.
Having all your tools ready before starting prevents unnecessary delays and keeps your workflow smooth.
Removing the Panels or Boards First
Start the removal process with the panels, pickets, or boards—depending on your fence type. For wood fences, place the crowbar between the boards and the rails, then gently pry the board loose. Start at the top and work your way down to reduce the risk of boards snapping or falling on you.
If the boards are nailed in tightly or starting to rot, a handsaw may be more effective. Cut the boards into sections to make them easier to handle and dispose of. Be sure to stack or sort the panels as you go. It’s easier to clean up in stages rather than all at once.
For vinyl fences, panels usually slide out from brackets or unscrew from the posts. Work slowly to avoid cracking them if you plan to reuse or recycle the material.
Removing Fence Posts
With the panels out of the way, it’s time to deal with the posts. This is often the most physically demanding and time-consuming part of fence removal.
Start by digging a trench around the base of each post using a shovel. Aim to expose the full concrete footing (if one exists). Rock the post back and forth to loosen it from the soil. In some cases, after enough movement, you can lift the post and concrete base out together. A long pry bar or 4×4 lever beam can help you apply leverage.
If the post won’t budge, you may need to dig deeper or break the concrete footing with a sledgehammer. Be patient here forcing a post out without fully loosening the soil or concrete can crack nearby structures or injure your back.
3. Deal with the Materials of the Old Fence
Tearing down a fence creates more debris than you might expect. Properly managing this material isn’t just about cleanliness it’s also about being responsible and possibly saving money.
Sort Your Materials
First, separate reusable or recyclable parts from true waste. Wood panels that aren’t rotted might be reused for garden beds or backyard projects. Metal hardware can be taken to a scrap yard. Even old concrete can be broken up and used as fill material.
Disposal Options
- Rent a dumpster: Ideal for large-scale projects or fences covering long distances.
- Local dump: Many municipalities accept old fencing, but check guidelines first.
- Recycling centers: Some facilities accept treated wood and metal fencing.
- Sell or give away: There’s always someone looking for used fencing for DIY projects.
Being eco-conscious pays off. You may reduce dump fees or even get cash back for your metal scraps.
4. Purchase Materials for the New Fence

Now that your old fence is out of the way, it’s time to bring your new vision to life. Choosing and purchasing the right materials is one of the most important parts of the fence replacement process. It’s not just about selecting what looks good—it’s about finding materials that fit your purpose, budget, and maintenance preferences.
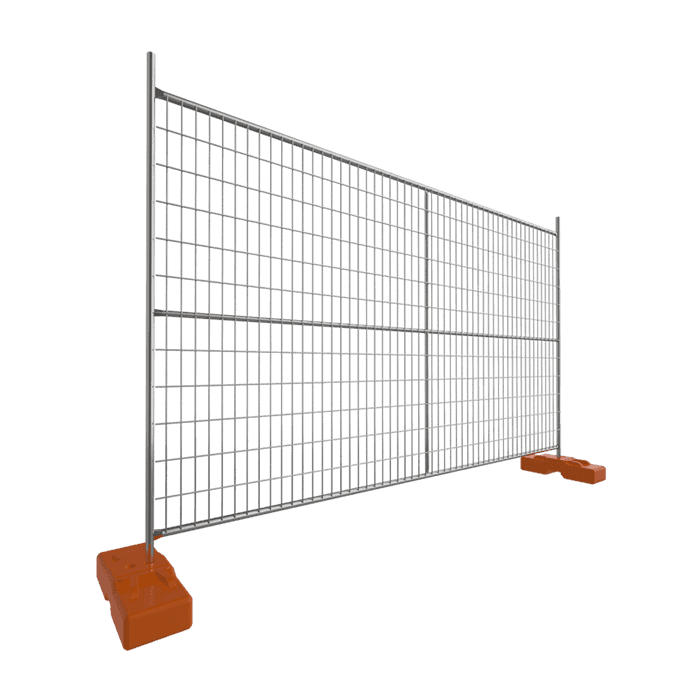
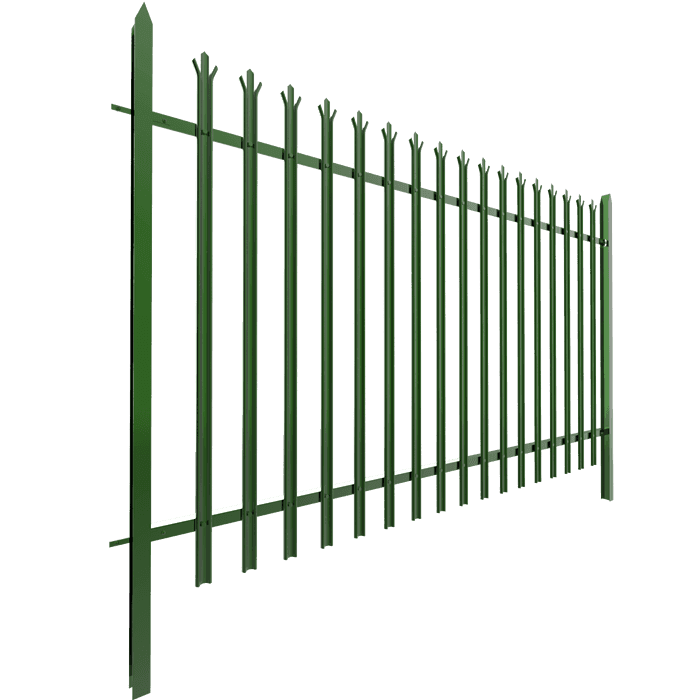
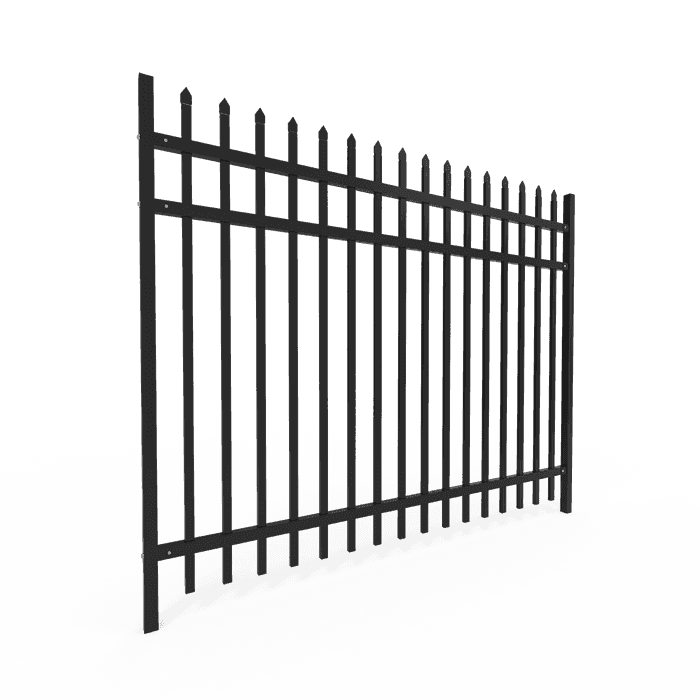
Choose the Right Fence Type for Your Needs
The first step is deciding what type of fence best suits your property. There’s no universal solution, because each homeowner has different goals some want privacy, others want curb appeal, and many are focused on security or ease of maintenance.
Measure and Calculate Material Quantities
Once you’ve chosen your fence type, you’ll need to calculate how much of it you’ll need. Start by measuring the full perimeter of your fence line. Be as accurate as possible, and don’t forget to account for gates or any design features that will affect spacing.
Post spacing is an important factor. Most fences are built with 6 to 8 feet between each post, depending on the material and design. Divide your total linear footage by this spacing to figure
Remember the Extras and Small Parts
Fence installations rely on more than just panels and posts. Small components are just as critical, and forgetting them can lead to frustrating delays. You’ll likely need items such as post caps to protect the tops from water damage and add a polished finish.
Set a Realistic Budget
Before you head to the hardware store or place your order online, take a moment to set a clear and realistic budget. Fence materials can vary dramatically in price based on the material, height, design, and finish. Wood is usually the most affordable upfront, while vinyl and metal tend to cost more but require less maintenance over time.
Think Long-Term When You Buy
Don’t let short-term savings lead to long-term regrets. It’s tempting to buy the cheapest option, but quality matters. Better materials last longer, look better, and require fewer repairs. Always read reviews or ask for recommendations if you’re unsure about a brand or product.
5. How to Install Your New Fence?

You’ve removed the old fence, cleaned up, and got your materials. Now comes the rewarding part installation. It takes some work, but with focus and patience, it’s entirely doable for the average homeowner.
Mark the Fence Line
Using string and stakes, outline your fence’s path. Make sure it’s straight and level. It’s also important to double-check property lines before digging, especially if you’re near a neighbor’s yard.
Set the Posts
Dig post holes about one-third the height of your intended fence typically 2 feet deep for a 6-foot fence. Use a post-hole digger or auger. Add gravel to the bottom of each hole for drainage.
Then, place the post and fill around it with concrete. Use a level to ensure it’s plumb. Let the concrete cure at least 24 hours before attaching panels.
Attach the Panels or Boards
Once your posts are solid, you can attach the horizontal rails and vertical boards. Use galvanized screws or nails to prevent rust. Check level frequently—an uneven fence is hard to fix later.
For pre-made panels, simply line them up between posts and fasten them securely. For custom-built fences, build rail sections between each post, then attach your pickets or boards.
6. When Should I Seek Help from Professionals?
Replacing a fence can be a satisfying DIY project, but it’s not always the best option for every homeowner or every property. There are situations where calling in a professional isn’t just helpful it’s the smartest move. Knowing when to bring in an expert can save you time, help avoid costly mistakes, and even prevent physical injury.
Challenging Terrain
One key reason to consider professional help is the nature of your yard. If your land is sloped, filled with dense tree roots, or made up of rocky soil, digging post holes becomes significantly harder. Professionals have the right tools and experience to deal with these challenges efficiently and safely.
Large or Complex Projects
If your fencing project spans a long distance or includes custom designs, hiring a contractor may be your best bet. Long property lines and intricate layouts require precise measurements, careful planning, and consistent execution, tasks that professionals can handle with ease.
Legal and Zoning Considerations
Unclear property boundaries or the need for permits can complicate a fencing project. Professionals are often familiar with local regulations and can manage the paperwork for you. This helps prevent disputes with neighbors and ensures compliance with zoning laws or HOA rules.
Limited Time or Physical Constraints
Installing a fence is time-consuming and physically demanding. If you have a tight schedule or health concerns, hiring a pro can save you a lot of effort. What might take you multiple weekends could be completed in a day or two by an experienced crew.
Choosing the Right Contractor
When looking for a fence contractor, start with local recommendations and online reviews. Always ask for a written quote and verify the contractor’s license and insurance. A reputable professional will inspect your property, recommend suitable materials, and ensure the finished work meets local building codes.
A Hybrid Approach
Even if you enjoy DIY projects, you don’t have to do everything alone. Hiring a pro for more technical aspects like setting posts or installing gates can provide a solid foundation for the rest of your work. This balance offers both hands-on satisfaction and professional precision.
Knowing when to seek help ensures your fence is built safely, legally, and to last. Whether you take on the entire project or collaborate with a contractor, your goal remains the same: a durable, attractive fence that enhances your property.
Final Thoughts
Knowing how to replace your fence gives you control over your outdoor space. From recognizing when it’s time for an upgrade to completing a professional-looking install, this process is all about planning, persistence, and a little elbow grease.
Your new fence isn’t just a barrier it’s an investment in your property’s value, safety, and style. So whether you decide to handle it yourself or bring in an expert, rest easy knowing you’re creating something that will last for years to come.