


Temporary fences play an unquestionable role in diverse stages such as construction sites and crowd control areas. It’s needless to emphasize how critical it is to understand the steps to building such a fence because it results in maximized safety, security, and convincing management of spaces.
In this post today, we’re going to learn these steps and find out how you can erect a temporary fence based on your desires. Regardless of what your intention is in building a temporary fence — like controlling access, containing animals, ensuring public safety, and so on — this post is for you if you’re about to have one soon.
Table of Contents

Step 1: Buy the Right Temporary Fence
It’s critical to initially pick the right temporary fence. To begin with, assess the needs of your project, including the size of the area, the purpose of the barrier — crowd control, animal containment, etc. — and the environmental conditions. These elements help you find out which temporary fence matches your desires.
That’s because there are diverse shapes of temporary fences on the market, including:
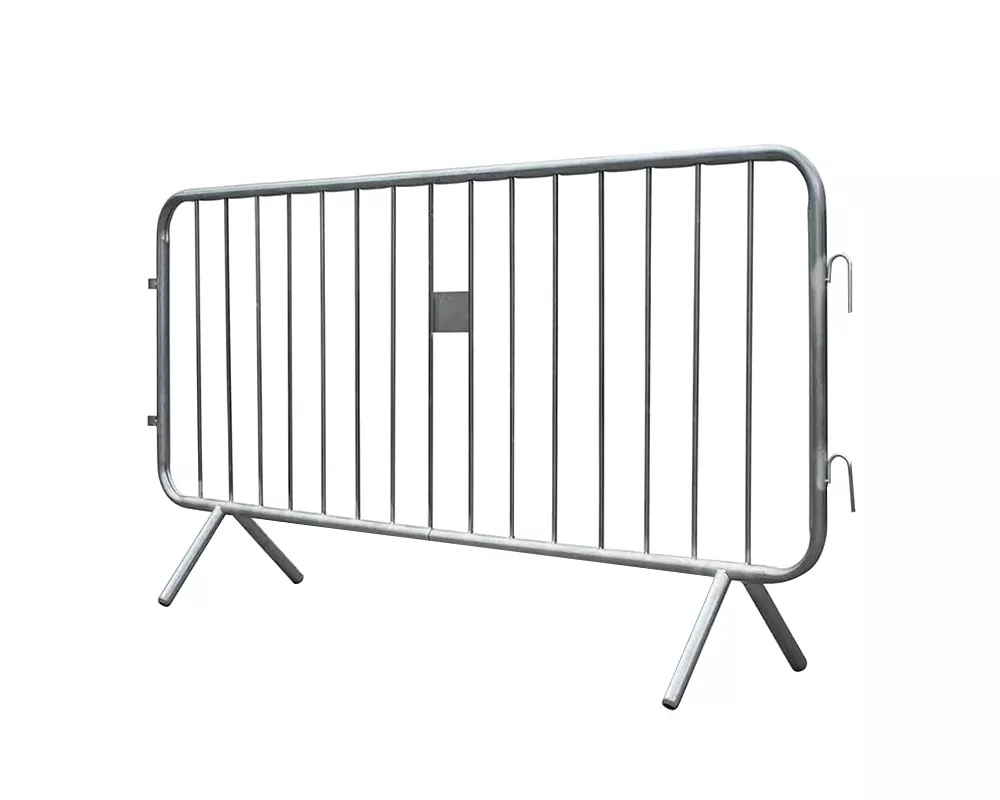
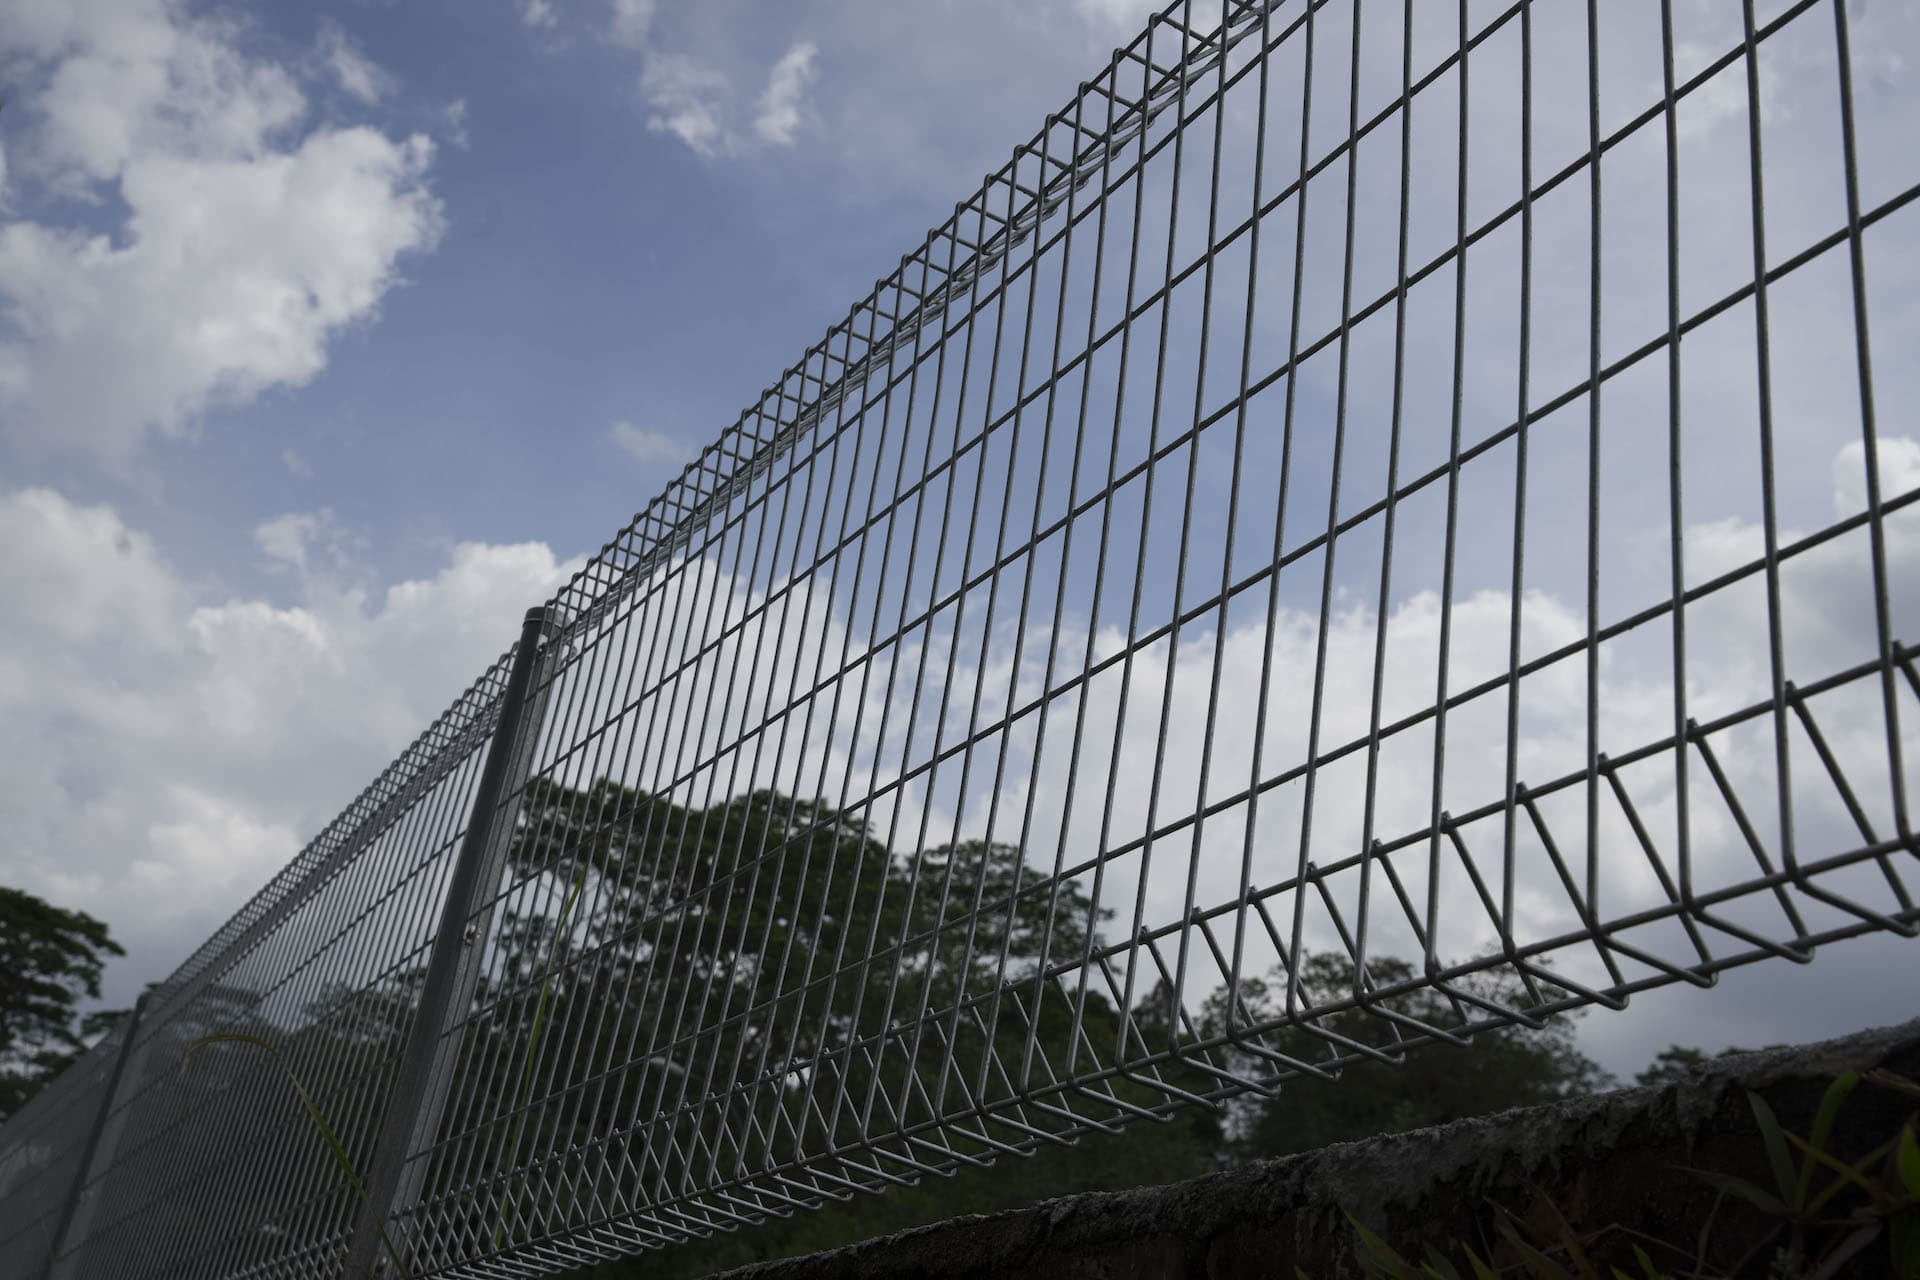
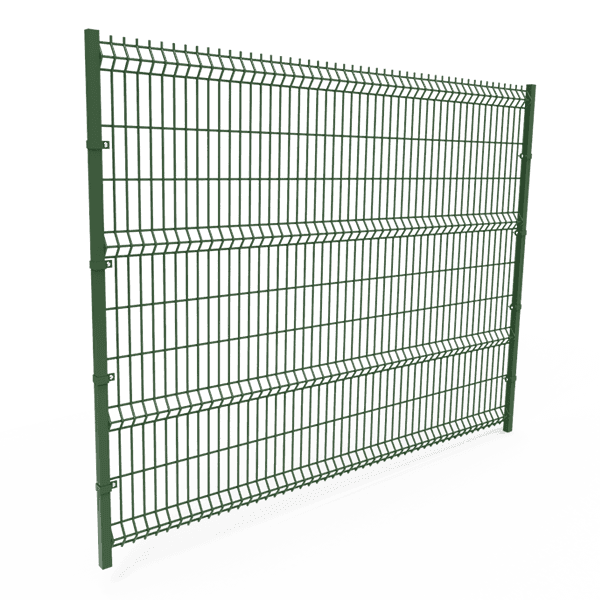
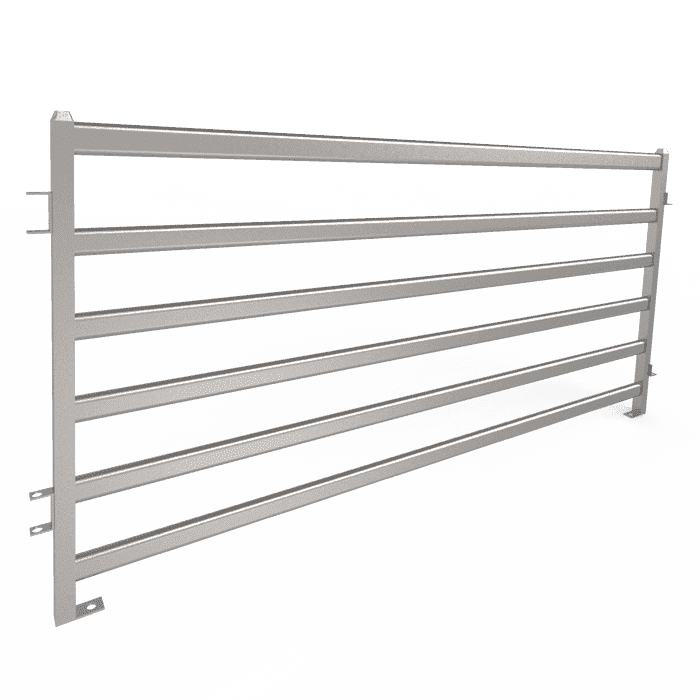
- Wire Mesh Panels: Long-lasting and fitting for construction sites or high-risk areas
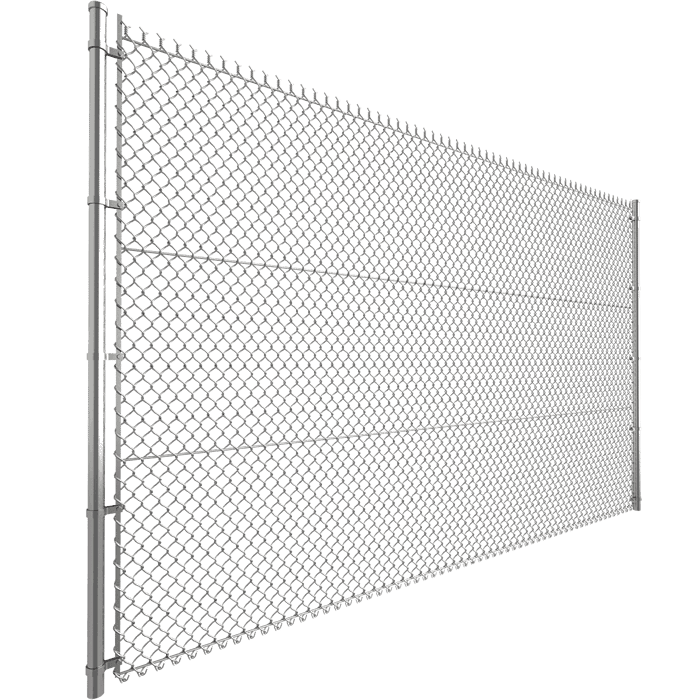
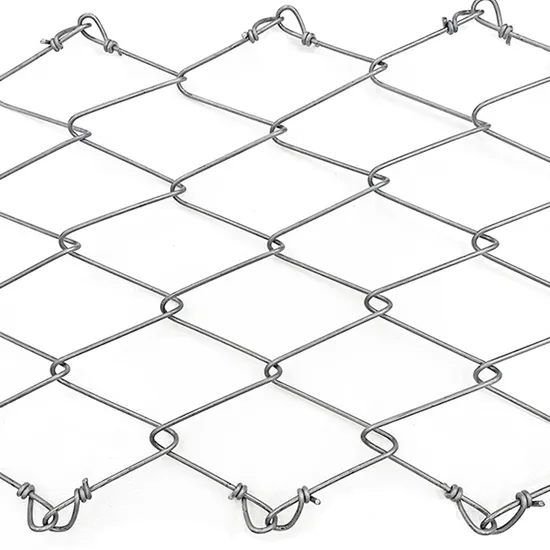
- Chain-Link Fences: Mighty and see-through, wonderful for long-term projects
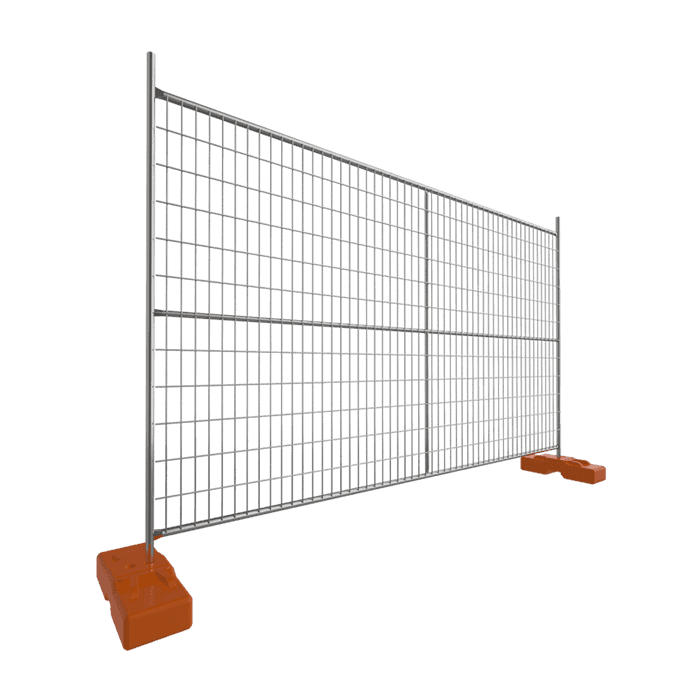
- Plastic Barriers: Light and mobile, comfortable to set up and move, ideal for temporary crowd control
- Temporary Electric Fences: Adjustable for organizing livestock or discouraging animals from entering forbidden areas
When purchasing a temporary fence, you need to evaluate aspects such as the material’s strength, complication of installation, and portability. For construction sites, enduring fences like chain-link or wire mesh panels might be more pleasing as they’re secure and thwart unauthorized entrance. For events or crowd control intentions, lightweight plastic barriers or mobile fences with built-in feet for stability might be more satisfactory.
What’s more, you should see if you need extra accessories such as support posts, stakes, or connectors. Some temporary fences come in one exclusive package along with their accessories, but others may force you into purchasing accessories separately.
All in all, before you make a purchase, don’t hesitate to compare prices, read product reviews, and check warranty options to make sure your desired fence is the right one. Purchasing the right temporary fence helps you prevent potential troubles and supervise your project with success.
Step 2: Prepare Your Tools to Install the Temporary Fence
Before you trigger the installation, you need to collect all vital tools to make sure everything will go smoothly. This will simplify the installation operation and result in a safe and accurate fence configuration.
Primarily, read the manufacturer’s instructions on how to assemble the temporary fence. This presents a brilliant vision regarding the tools you need for your distinctive fence type and the extra materials you need for optimized assembly.
Some common tools you probably need to install temporary fences are mentioned in the table below:
Installation Tool | Application |
Hammer |
|
Screwdriver |
|
Pliers |
|
Tape Measure |
|
Level |
|
Post Driver |
|
Wire Cutters |
|
Gloves and Safety Gear |
|
Once you’ve prepped everything, position them in a suitable spot adjacent to the installation zone. This shortens the process and prevents unanticipated delays or interruptions. Such a comprehensive preparation enables you to initiate your installation with peace of mind.
Step 3: Install the Temporary Fence According to the Manufacturer's Instructions

It’s paramount to nestle your temporary fence in the correct way to guarantee its equilibrium. To do so, follow these steps:
- Prepare the Site: Clean the area from any debris, rocks, or obstacles that may hinder the installation procedure. Make sure the ground is level, particularly when you need to punch posts to the ground.
- Position the Posts: Place the posts at predefined intervals along the circumference of the area. If your posts are temporary, just place them where you want. For wooden or metal posts that are permanent, you can employ a post driver to fasten them satisfactorily into the ground.
- Attach Fence Panels or Wire: Connect the fence panels or wire mesh between the posts, depending on your temporary fence style. Carefully follow what the manufacturer says to make sure the panels are fastened appropriately to the posts.
- Secure the Connections: Properly fasten the fence panels or wire mesh to the posts using tools such as zip ties, wire, or clips. Check to see if all connections are sealed so the fence won’t sag or become shaky.
- Check for Stability: Then, gently push/pull on the fence to see if it’s unmoving. Make sure the posts are firmly docked in the ground and the fence isn’t unbalanced.
- Adjust if Necessary: Apply modifications to make sure the fence is straight, level, and aligned. You may need to move posts, tighten connections, or trim extra materials.
- Add Additional Support: Depending on your fence length and height, you may have to use added support such as stakes or bracing to prevent it from tipping over or collapsing under pressure.
- Inspect the Installation: After finishing the installation, examine the whole frame to make sure there are no openings, defects, or loose parts. Apply repairs or modifications before following to the next step.
Step 4: Test the Reliability of the Temporary Fence
After the installation stage, you need to perform some tests to see if the temporary fence is dependable. This helps you notice vulnerabilities in the fence and mend them before they convert into trouble. These tests can include:
- Physical Inspection
- Push and Pull Test
- Load Test
- Wind Resistance Test
To begin with, visually scan the entire length of the fence. Meticulously observe the connections, posts, and fencing material. See if you can possibly discover signs of damage, loose fasteners, and sagging or leaning areas.
Then, exert mild pressure on various segments of the fence by pushing and pulling on it. This helps you evaluate the fence’s stability and resistance to exterior forces. Look for weak/unstable areas because they surely need reinforcement.
Now, conduct the load test if your fence is supposed to contain animals or bear heavy loads. To do so, apply some weight or pressure to the fence. For instance, hang weights or employ a heavy thing to exert pressure on the fence. See if the fence can handle the load.
The wind resistance test is also paramount if your area usually undergoes high winds. To do so, expose the fence to strong winds and assess its functionality. Check for indications of bending, swaying, or structural deterioration.
Ultimately, analyze your tests’ results to see if any modifications or reinforcements are necessary. Modifying tasks may include tightening connections, adding extra support, or substituting damaged pieces. Uncovering potential issues in advance guarantees the dependability and lengthy lifespan of your temporary fence.
Step 5: Regularly Replace Damaged Parts of the Temporary Fence
Recurring maintenance and periodic replacement of damaged segments of the temporary fence help you guarantee the steady functionality of the fence. Wear and tear, weather exposure, and external elements can weaken the fence’s functionality over time.
Try to examine the fence on a regular basis — like in monthly or quarterly periods. Comprehensively scrutinize the entire length of the fence and examine posts, panels, connectors, and materials. See if there are indications of deterioration, corrosion, rust, or wear that may mandate replacement.
If you encounter any harmed parts during inspections, repair/replace them instantly. Your remedies may comprise tightening loose fasteners, strengthening vulnerable sections, or substituting broken panels/posts. This instantaneous reaction prevents additional damage.
Watch out for environmental conditions that may damage the temporary fence, including extreme weather conditions, high winds, or openness to corrosive substances. Take farsighted actions to protect the fence from these elements. For example, you can add extra support for windy conditions or use rust-resistant coatings on metal pieces.
If you notice indications of tangible wear or deterioration on some parts of the temporary fence, schedule for their replacement. You may need to replace rusted/corroded posts, harmed panels, or worn-out connectors. Recurring replacement of these parts conserves the structural integrity of the fence with time.
For temporary fences that are more repeatedly used and moved, you also need to reiterate your maintenance assignments more frequently. Think of preventive measures such as strengthening widely-used areas or buying mightier materials to cope with elevated wear and tear.

Final Words
As we discussed today, learning the steps to building a temporary fence empowers you to erect protected, functioning, and adaptable barriers for myriad intents.
All these steps — from determining the right materials to performing comprehensive tests and upkeep — are critical to extending the lifespan of the fence. Following these approaches allows you to confidently manage the complexities of building a temporary fence.
Related Post might be HELPFUL to you: The Latest Chain Link Fence Installation Guide for 2024