
Table of Contents
If you only have one minute, here’s the key takeaway: installing a chain link fence isn’t difficult, but getting it to stay straight, tight, and durable for years depends on proper planning, post installation, and mesh tensioning. Most fence failures we see aren’t caused by poor-quality materials—they’re caused by incorrect post spacing, insufficient concrete, or improperly stretched wire mesh. Whether you’re installing a residential backyard fence or a commercial security perimeter, following the right sequence will save time, reduce costs, and produce a fence that performs as expected.
From our experience working with wire mesh products and industrial fencing projects, the biggest difference between an average installation and a professional one isn’t expensive equipment. It’s attention to the small details that many installers overlook.
What Tools Do You Need to Install a Chain Link Fence?
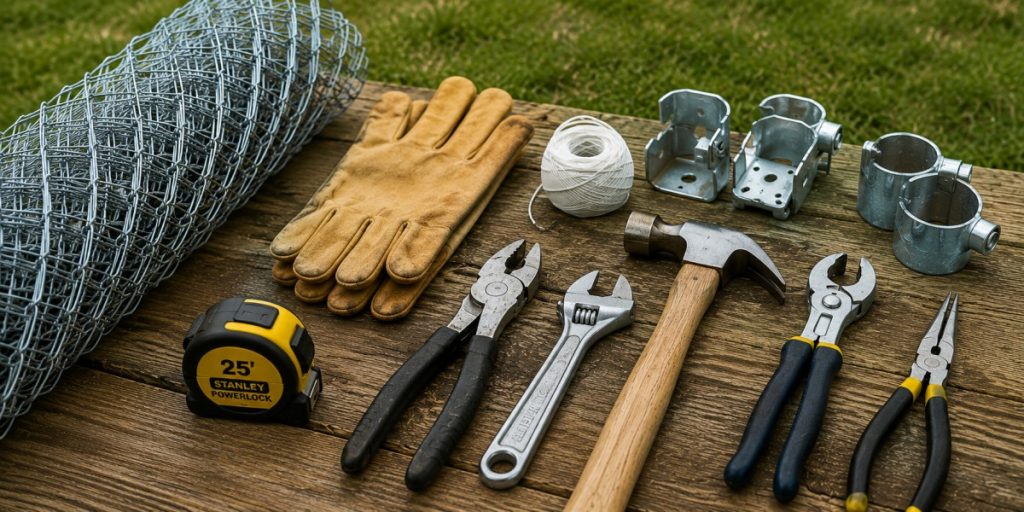
Before digging the first hole, gather every tool you’ll need. Stopping halfway through an installation because you’re missing a tension bar or brace band is frustrating—and surprisingly common.
A standard installation usually requires:
• Tape measure
• String line and stakes
• Post hole digger or auger
• Shovel
• Level
• Concrete mix
• Wrenches and socket set
• Fence pliers
• Tension bar
• Tension bands
• Brace bands
• Come-along or fence puller
• Wire cutters
• Safety gloves and eye protection
For commercial projects, powered augers, laser levels, and hydraulic stretchers can significantly improve efficiency, especially when installing hundreds of meters of fencing.
How to Plan and Measure Your Fence Layout
Every successful fence starts with accurate planning.
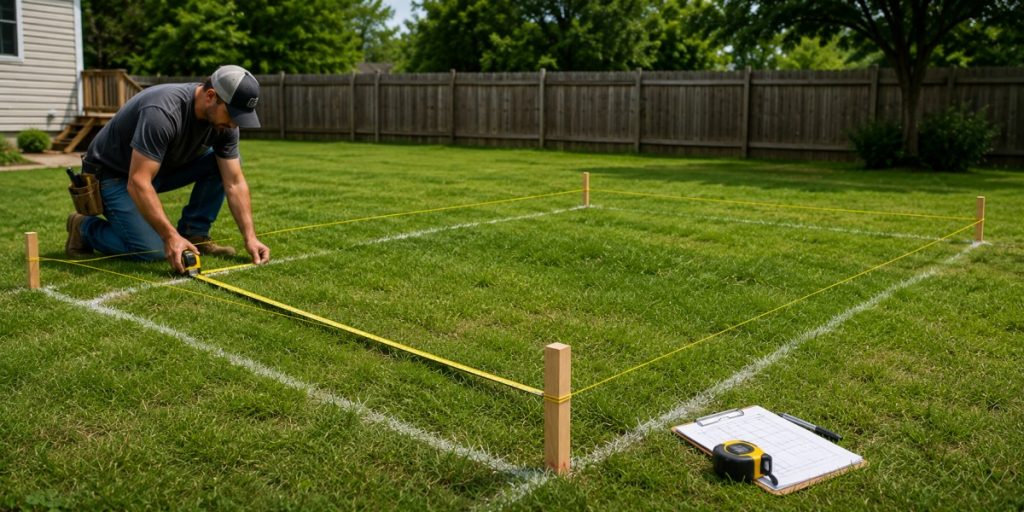
Walk the property first. Identify property lines, underground utilities, slopes, drainage, trees, and future gate locations.
Then stretch a string line between corner stakes. This simple step immediately reveals alignment issues before any digging begins.
In our experience, many DIY installers skip this stage because it feels unnecessary.
It isn’t.
Once concrete is poured, correcting a crooked fence line becomes expensive.
Most residential chain link fence posts are spaced approximately 8–10 feet apart, although local regulations and fence height may require different spacing.
Take time here.
It pays off later.
How to Set Chain Link Fence Posts Correctly
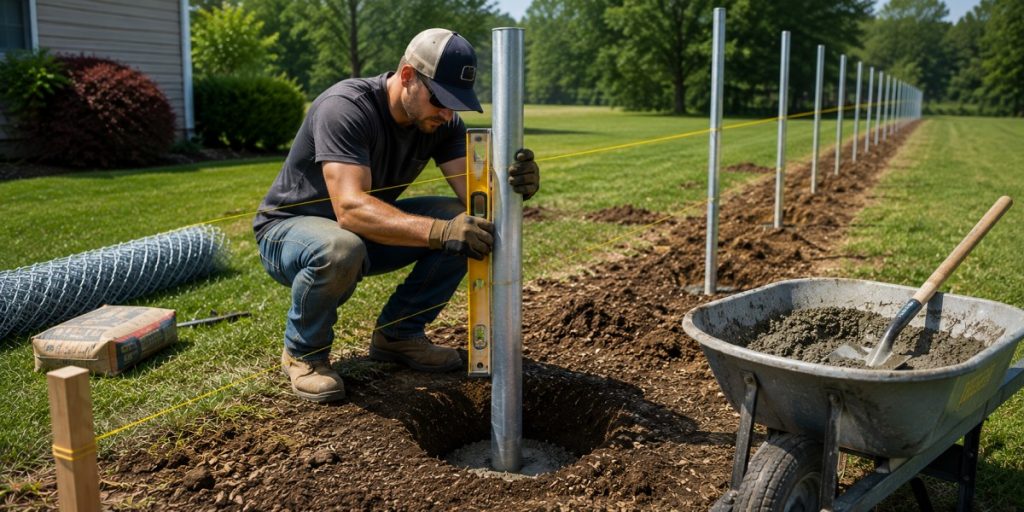
The posts are the structural backbone of the entire fence.
Terminal posts—including corner, end, and gate posts—should always be installed first. These carry most of the fence tension.
Line posts come afterward.
Each hole should generally be deeper than the local frost line where applicable. For many residential installations, digging roughly one-third of the post length below ground provides good stability.
Keep checking every post with a level from two directions before the concrete begins to set.
We’ve seen perfectly good fencing materials blamed for leaning fences when the real issue was simply rushed post installation.
Should You Use Concrete for Fence Posts?
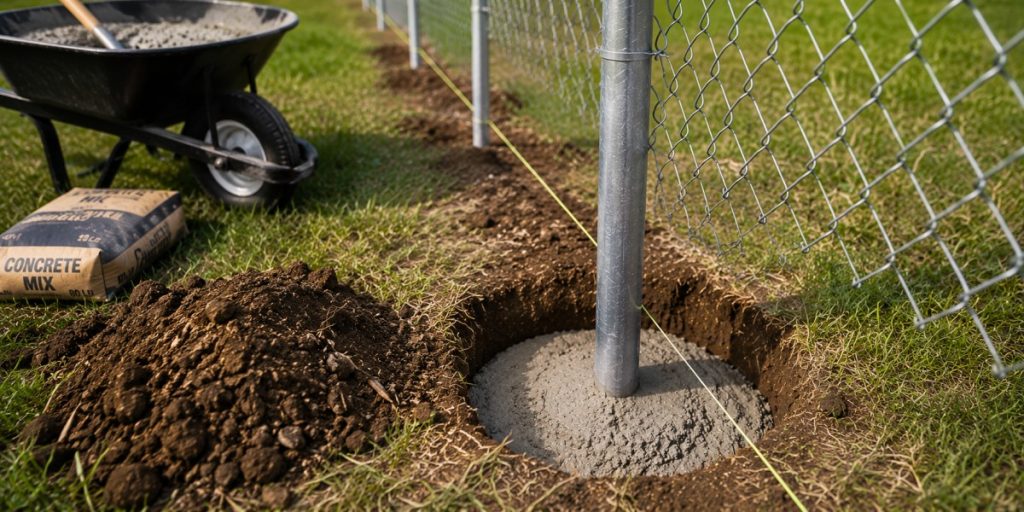
Many homeowners ask whether concrete is really necessary.
Our answer?
Almost always, yes.
Concrete dramatically increases stability, especially for tall fences, windy regions, commercial properties, security fencing, and heavy gates.
For lightweight temporary fencing, compacted gravel may be sufficient.
From an engineering perspective, properly mixed concrete distributes loads much more evenly around the post and greatly reduces movement over time.
Allow the concrete to cure adequately before applying tension to the fence fabric.
Patience here prevents problems later.
How to Install the Top Rail and Brace Bands
Once every post is firmly set, install the brace bands and rail ends onto the terminal posts before connecting the top rail.
The top rail serves more than an aesthetic purpose.
It helps distribute tension throughout the fence line while improving rigidity.
Tighten every fitting securely, but avoid overtightening galvanized hardware, as excessive force can damage protective coatings.
Small details like this often determine how well a fence resists corrosion after years outdoors.
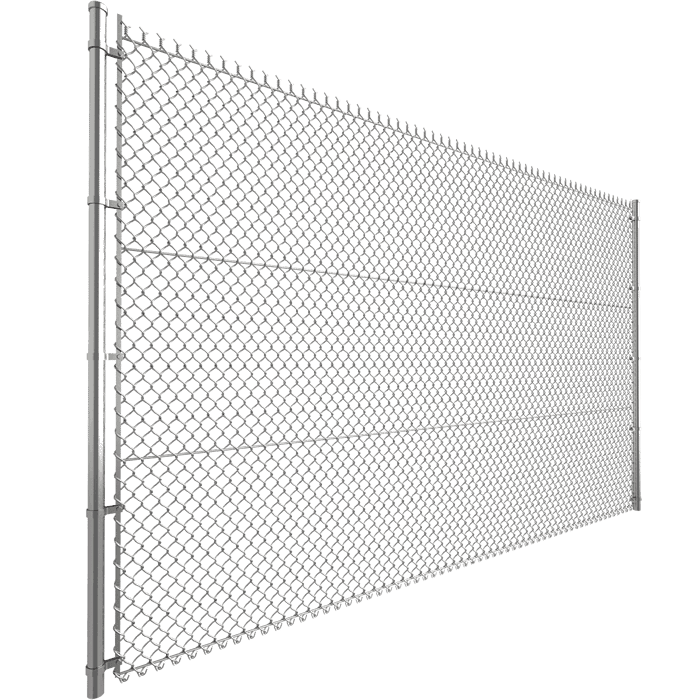
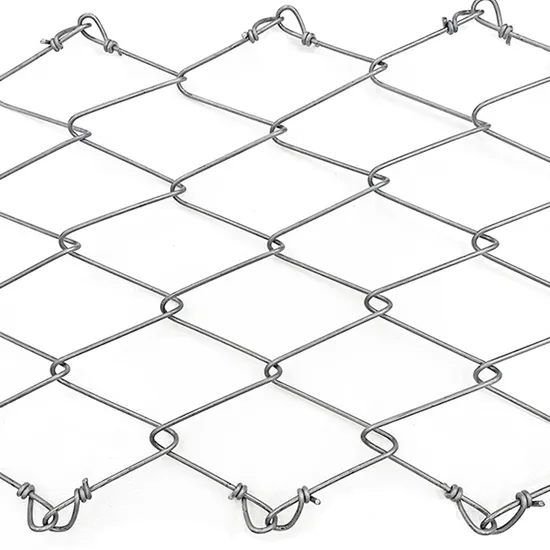
How to Attach and Stretch Chain Link Mesh
This is the stage where the fence begins to look finished.
Unroll the chain link fabric carefully along the fence line.
Insert a tension bar through the first row of mesh and secure it using tension bands attached to the terminal post.
Then use a fence puller or come-along to stretch the mesh gradually.
Don’t rush.
Overstretching can permanently deform the wire.
Understretching leaves visible waves that become worse over time.
We have found that installers who tension slowly in several stages usually achieve a much cleaner final appearance than those trying to tighten everything in one pull.
Finally, attach the mesh to line posts using tie wires at consistent intervals.
How to Install a Chain Link Fence Gate
Gate installation requires careful alignment because even minor errors become obvious during daily use.
Install the hinges according to the manufacturer’s recommendations and verify that the gate swings freely before tightening all hardware.
Leave sufficient clearance between the gate and the ground, especially if snow, gravel, or uneven surfaces are expected.
Commercial security gates often require heavier hinges and reinforced gate posts due to increased weight.
How to Tension a Chain Link Fence Properly
Many people believe tighter is always better.
Actually, that’s not true.
The goal is uniform tension, not maximum tension.
The mesh should remain straight without bowing the posts or distorting the wire pattern.
Walk the entire fence after tensioning.
Stand at several different viewing angles.
If you notice ripples, loosen and readjust rather than continuing to tighten.
Professional installers spend more time inspecting than most people realize.
That’s one reason their finished fences look so clean.
Common Chain Link Fence Installation Mistakes to Avoid
Some mistakes appear immediately.
Others don’t become visible until months later.
The most common problems include:
• Incorrect post spacing
• Posts installed out of plumb
• Insufficient concrete curing time
• Uneven mesh tension
• Loose hardware
• Poor gate alignment
• Ignoring slope transitions
• Using the wrong fittings
• Mixing incompatible hardware finishes
In our experience, careful preparation eliminates the majority of these issues before installation even begins.
How to Install Commercial Chain Link Fencing
Commercial fencing follows the same basic principles as residential projects but demands greater precision.
Industrial sites, warehouses, airports, schools, sports facilities, and logistics centers often require heavier wire gauges, larger terminal posts, stronger framework, security gates, barbed wire or razor wire extensions where permitted, and strict compliance with engineering specifications.
Large commercial installations also rely heavily on accurate surveying because even small alignment errors become significant across hundreds of feet of fencing.
We’ve worked with customers whose primary concern wasn’t installation speed—it was minimizing long-term maintenance costs.
A properly installed commercial fence often saves far more money over its service life than choosing the lowest initial installation price.
Choosing the Right Wire Gauge and Mesh Size
Selecting the right specification depends entirely on the intended application.
Light residential fencing typically uses lighter wire with standard mesh openings, while industrial facilities often require thicker wire for improved impact resistance and security.
When choosing specifications, consider security requirements, wind exposure, animal containment, visibility, corrosion environment, local regulations, and expected service life.
From our experience, buyers sometimes focus only on fence height while overlooking wire gauge. In reality, wire thickness often has a greater influence on durability than increasing the height alone.
Galvanized vs Vinyl-Coated Chain Link Fence: Which Is Better?
There isn’t one universal winner.
It depends on your priorities.
Galvanized chain link fencing remains the industry standard because it offers excellent corrosion resistance, long service life, and competitive pricing. It is commonly used for industrial facilities, farms, highways, and infrastructure projects.
Vinyl-coated chain link fencing adds an additional protective layer while providing a cleaner appearance. Black and green coatings are especially popular for residential properties, parks, schools, and recreational facilities because they blend naturally into the surrounding environment.
From an engineering perspective, high-quality galvanized fencing already provides excellent long-term performance. Vinyl coating becomes most valuable when aesthetics are equally important or when additional environmental protection is desired.
For many commercial customers, galvanized fencing delivers the best balance between durability, maintenance, and cost. For residential landscaping or architectural projects, vinyl-coated fencing often creates a more attractive finished result.
Final Thoughts
Installing a chain link fence is more than assembling posts and wire mesh. A well-built fence reflects careful planning, accurate measurements, solid foundations, and consistent tension throughout the installation.
In our experience, the best projects rarely rely on shortcuts. They rely on good materials, proper installation techniques, and attention to details that many people don’t notice—until years later.
Whether you’re securing a backyard, protecting an industrial facility, or enclosing a commercial property, investing time in proper installation will produce a fence that remains straight, secure, and reliable for many years.
Related Post might be HELPFUL to you: The Latest Chain Link Fence Installation Guide for 2026
 English
  Spanish
  Portuguese
  German
  French
  Italian
  Japanese
  Korean
  Russian